Automated Actions allow faculty/staff to regularly take certain actions on students matching criteria from a Saved Search. They can be used to send proactive alerts on students whose GPA falls below a certain threshold, to students who receive low midterm/final grades, send an email to newly assigned advisees, and much more!
An automated action in Navigate is just what it sounds like. Faculty/staff can set up an action which is taken on any existing saved search every day, week or month in a specified date range.
Configuring an automation in Navigate has three main parts:
- What saved search (list of students) would you like to take your action on, and what action (send message or issue an alert)?
- How long will your automation run? For what range of dates?
- How frequent and at what time?
Essentially, and automated action allows you to regularly (every month, day, or week in a date range) issue an alert, or send an email to your desired list of students, or to students newly added to your list without any additional action needing to be taken on your end.
Automated actions can be used for many reasons and you will have the option to automate the action for all students in your saved search, or for only the students who are newly added to your saved search since the last run of the automation. You will also receive an email reminder each time the automation is scheduled to run so that you can review, edit or confirm any aspects of the automation before the action is taken through the duration of your automation.
Automated actions have a wide range of useful applications. Below are a few examples of what automated actions can be used for.
- Automated Send Message
- Automatic welcome emails to newly assigned advisees.
- Automatic welcome emails to students who newly switched into a certain major/concentration/minor.
- Automatic emails sent to students who are low achieving (students below a certain GPA, students on academic probation, etc.).
- Automated Issue an Alert
- Automatic alerts issued on students who are low achieving (students below a certain GPA, students on academic probation, etc.).
- Automatic alerts issued on students who received below a certain midterm grade in a course.
If you are interested in learning more, please see the "How to Create an Automated Action" section below, or reach out/schedule a training with Navigate Support.
Automated actions can be useful for most faculty/staff across campus. They can be used to send proactive alerts on students whose GPA falls below a certain threshold, issue an alert on students who receive low midterm/final grades, send an email to newly assigned advisees, and much more.
Below, we will go through an example of how you can set up an automation to automatically send out a welcome email when a student is assigned to you as their advisor.
Step 1. If you have not done so already, create a saved search of your list of advisees (or whatever list you are interested in automating an action for). If you are unsure of how to do this, please review our Advanced Search page.
Step 2. Navigate to the "Lists & Saved Items" page by selecting the bullet list icon from the left-hand side toolbar.
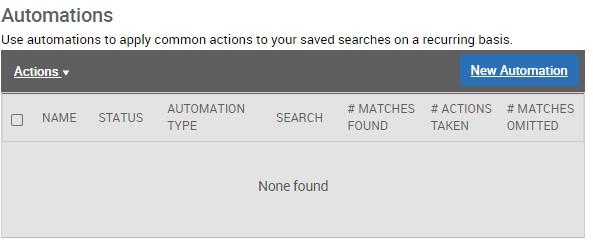
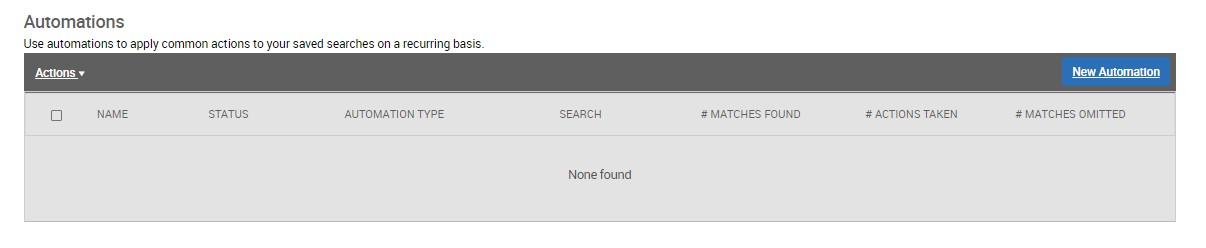
Step 3. Scroll down to find the "Automations" section of this page. Please note that you must already have a saved search with the list of students you are interested in prior to completing this step. Select "New Automation".
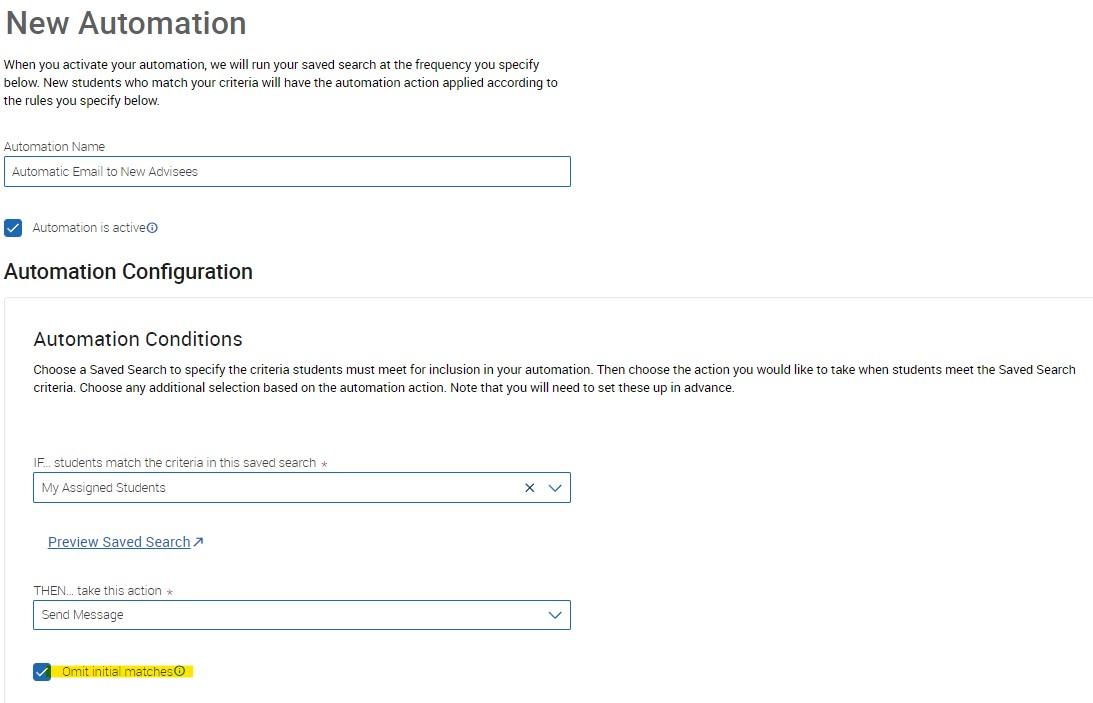
Step 4. Name your automation.
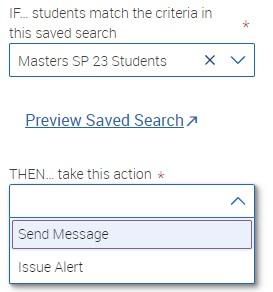
Step 5. Set your automation conditions. Here, you will first select the saved search for you automation, then select the action you would like to take on that saved search. You may choose from either "Send Message" or "Issue an Alert".
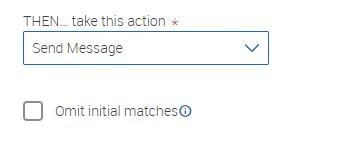
Step 6. You have the ability to automate the action on all students in your saved search, or only to students who are newly added (as this search will rerun every day, week or month depending on what you've chosen). If you'd like preform the action ONLY for newly added students in your saved search, select "Omit initial matches". Otherwise leave this unchecked.
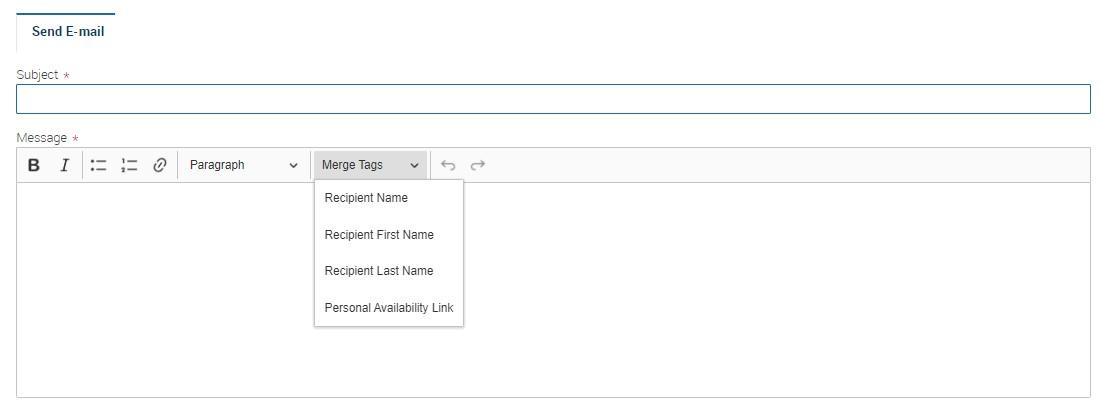
Step 7. If you chose "Send Message" as your action, draft the subject and body of your email. If you chose "Issue an Alert" select the alert reason that you'd like to use.
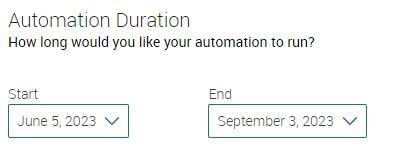
Step 8. Set your automation schedule. First, you must select the duration; this can be any date range. You can set it to the dates of the semester, advising season, or any other date range you'd like the automation to run during. Then, you select the frequency to be Daily, Weekly or Monthly. You may also select the time of day you'd like to automation to run.
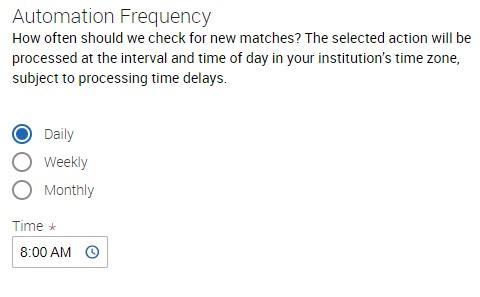
For example, if you choose to set the date range to be the start and end of the semester with a frequency of weekly, then the automation will run once weekly throughout the semester. This means that your action will be preformed once a week through your date range. i.e. Your message will be sent, or alert issued once a week to your list of students in your saved search (or, to newly added students each week, if any, if you selected the "Omit initial matches" option.
Step 9. Save the Automation.
Note: You will receive an email reminder each time your automation runs, reminding you of the automation and giving you the opportunity to check/review the automation before it sends the message, or issues the alert.
Automated Actions allow you set up an automatic email to any saved list of students. This can be very useful for advisors, as you can set an automation up so that when an advisee is newly assigned to you, they will be picked up in your saved search, then caught by the automation, hence automatically being sent an email that you've previously set up.
Step 1. You must first have a saved search consisting of your advisees. To set this up, Navigate to the Advanced Search page, select the "My Students Only" check box to the right of the blue Search button and then hit "Search".
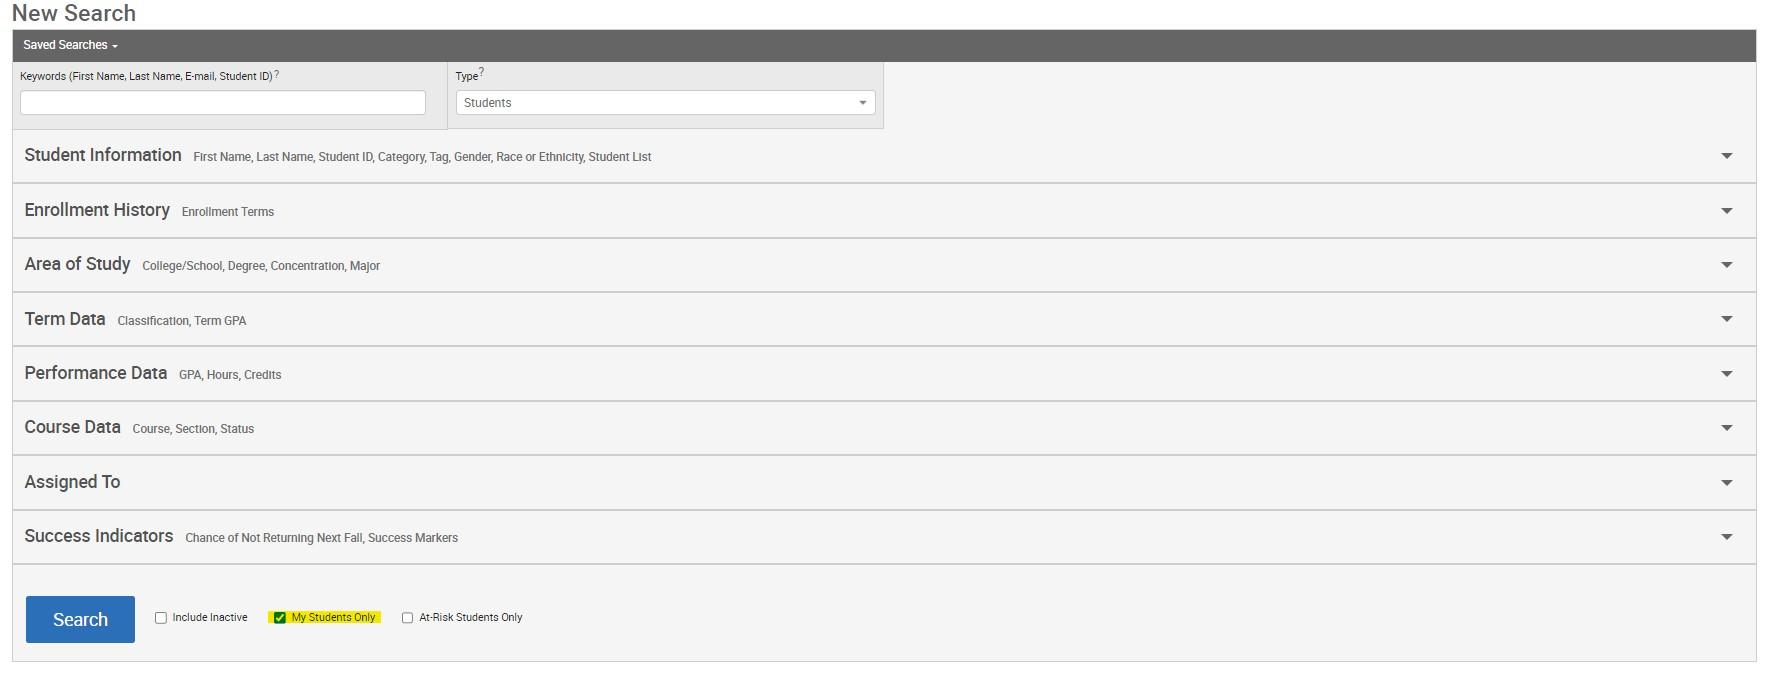
This will return a list of student's assigned to you in Banner. Next, save the search and title it whatever you'd like. We recommend "My Assigned Students".

Step 2. Once you have your saved search set up, navigate to the "Lists & Saved Items" page. At the bottom of the page is where you will see all your automations listed. Select the blue "New Automation" button.
Step 3. First, name your automation. You can name it anything you'd like. We recommend "Automatic Email to New Advisees". Next, you set the automation conditions. Under "IF... students match the criteria in this saved search", select the search containing you advisees that you've just created. Under "THEN... take this action" select "Send Message". This is what sending an email is called in Navigate.
Be sure to select the "Omit initial matches" check box as well, to ensure only students who are new to the search will be caught in the automation.
Step 4. Draft the email that you'd like new advisees to receive. You can put whatever you'd like in the subject and body of the email. Navigate also allows you to personalize the email, including the student's first/last name. You may also want to include your personal availability link so they can schedule an appointment with you. These options are all found under "Merge Tags".
Step 5. Set the automation schedule. You will need to pick a date range, we recommend the entire semester. For frequency, you have the option for the automation to run (and search for new advisees) every day, week, or month. You then must also select the time at which you want the automation to run.
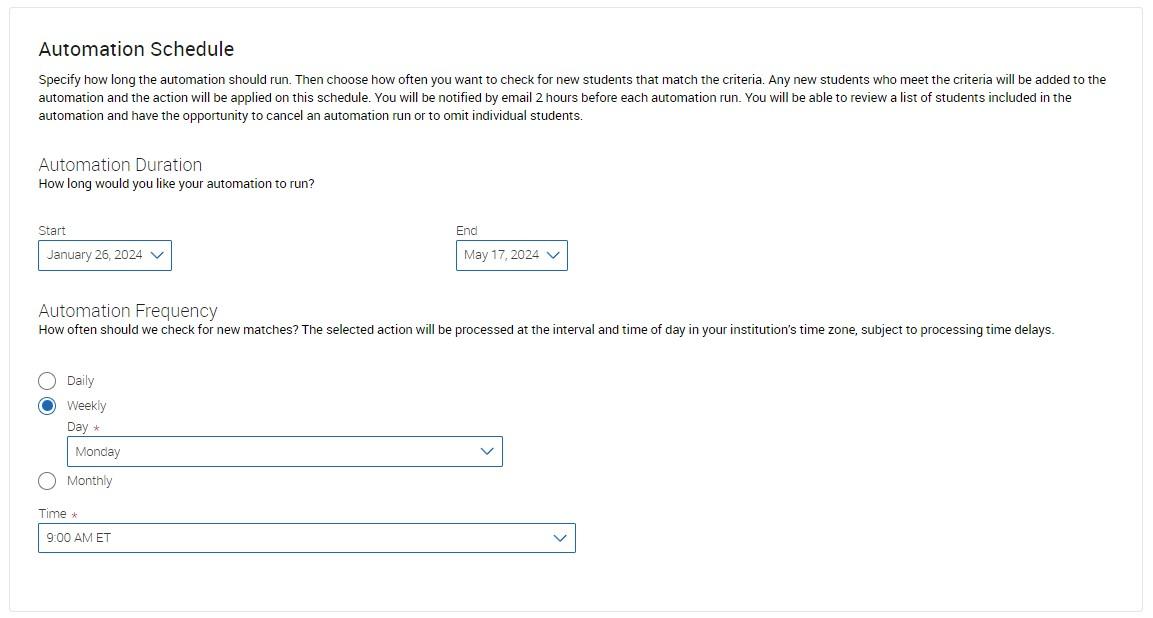
Step 6. Save the automation and you're good to go! You will be notified by email prior to the automation sending the email 2 hours before the schedule you've set. Then, you can manage the automation and/or see students for which the automation will be running.
Automated Actions allow you set up an automatic email to any saved list of students. This can be very useful for chairs, coordinators or secretaries, as you can set an automation up so that when a student switches into your major, they will be picked up in your saved search, then caught by the automation, hence automatically being sent an email that you've previously set up.
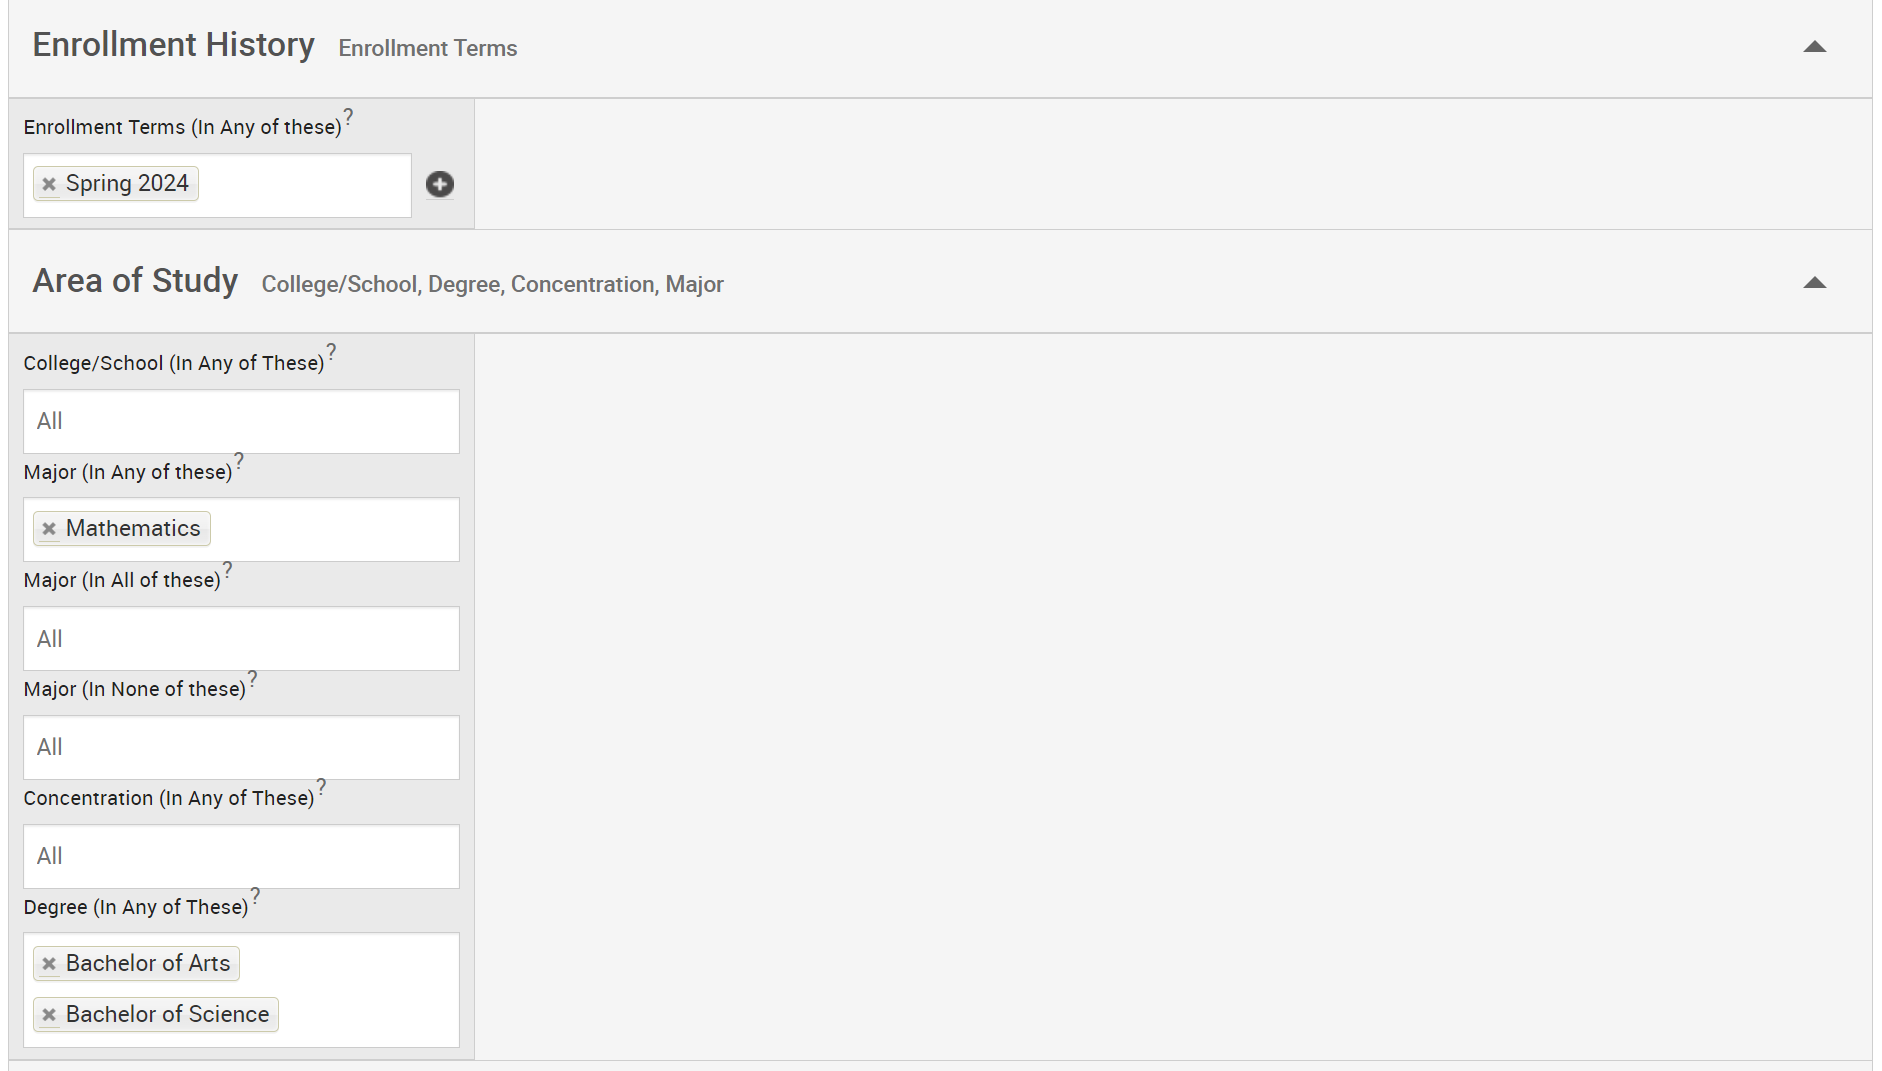
Step 1. You must first have a saved search consisting of students in the desired major. To set this up, Navigate to the Advanced Search page, add the current term under "Enrollment History" and under "Area of Study" add the major/degree/concentration(s) you are interested in. For more detail on how to create this saved search, see our Advanced Search page.
This will return a list of student's assigned to you in Banner. Next, save the search and title it whatever you'd like. We recommend "My Assigned Students".
Step 2. Once you have your saved search set up, navigate to the "Lists & Saved Items" page. At the bottom of the page is where you will see all your automations listed. Select the blue "New Automation" button.
Step 3. First, name your automation. You can name it anything you'd like. Next, you set the automation conditions. Under "IF... students match the criteria in this saved search", select the search you've just saved. Under "THEN... take this action" select "Send Message". This is what sending an email is called in Navigate.
Be sure to select the "Omit initial matches" check box as well, to ensure only students who are new to the search will be caught in the automation.
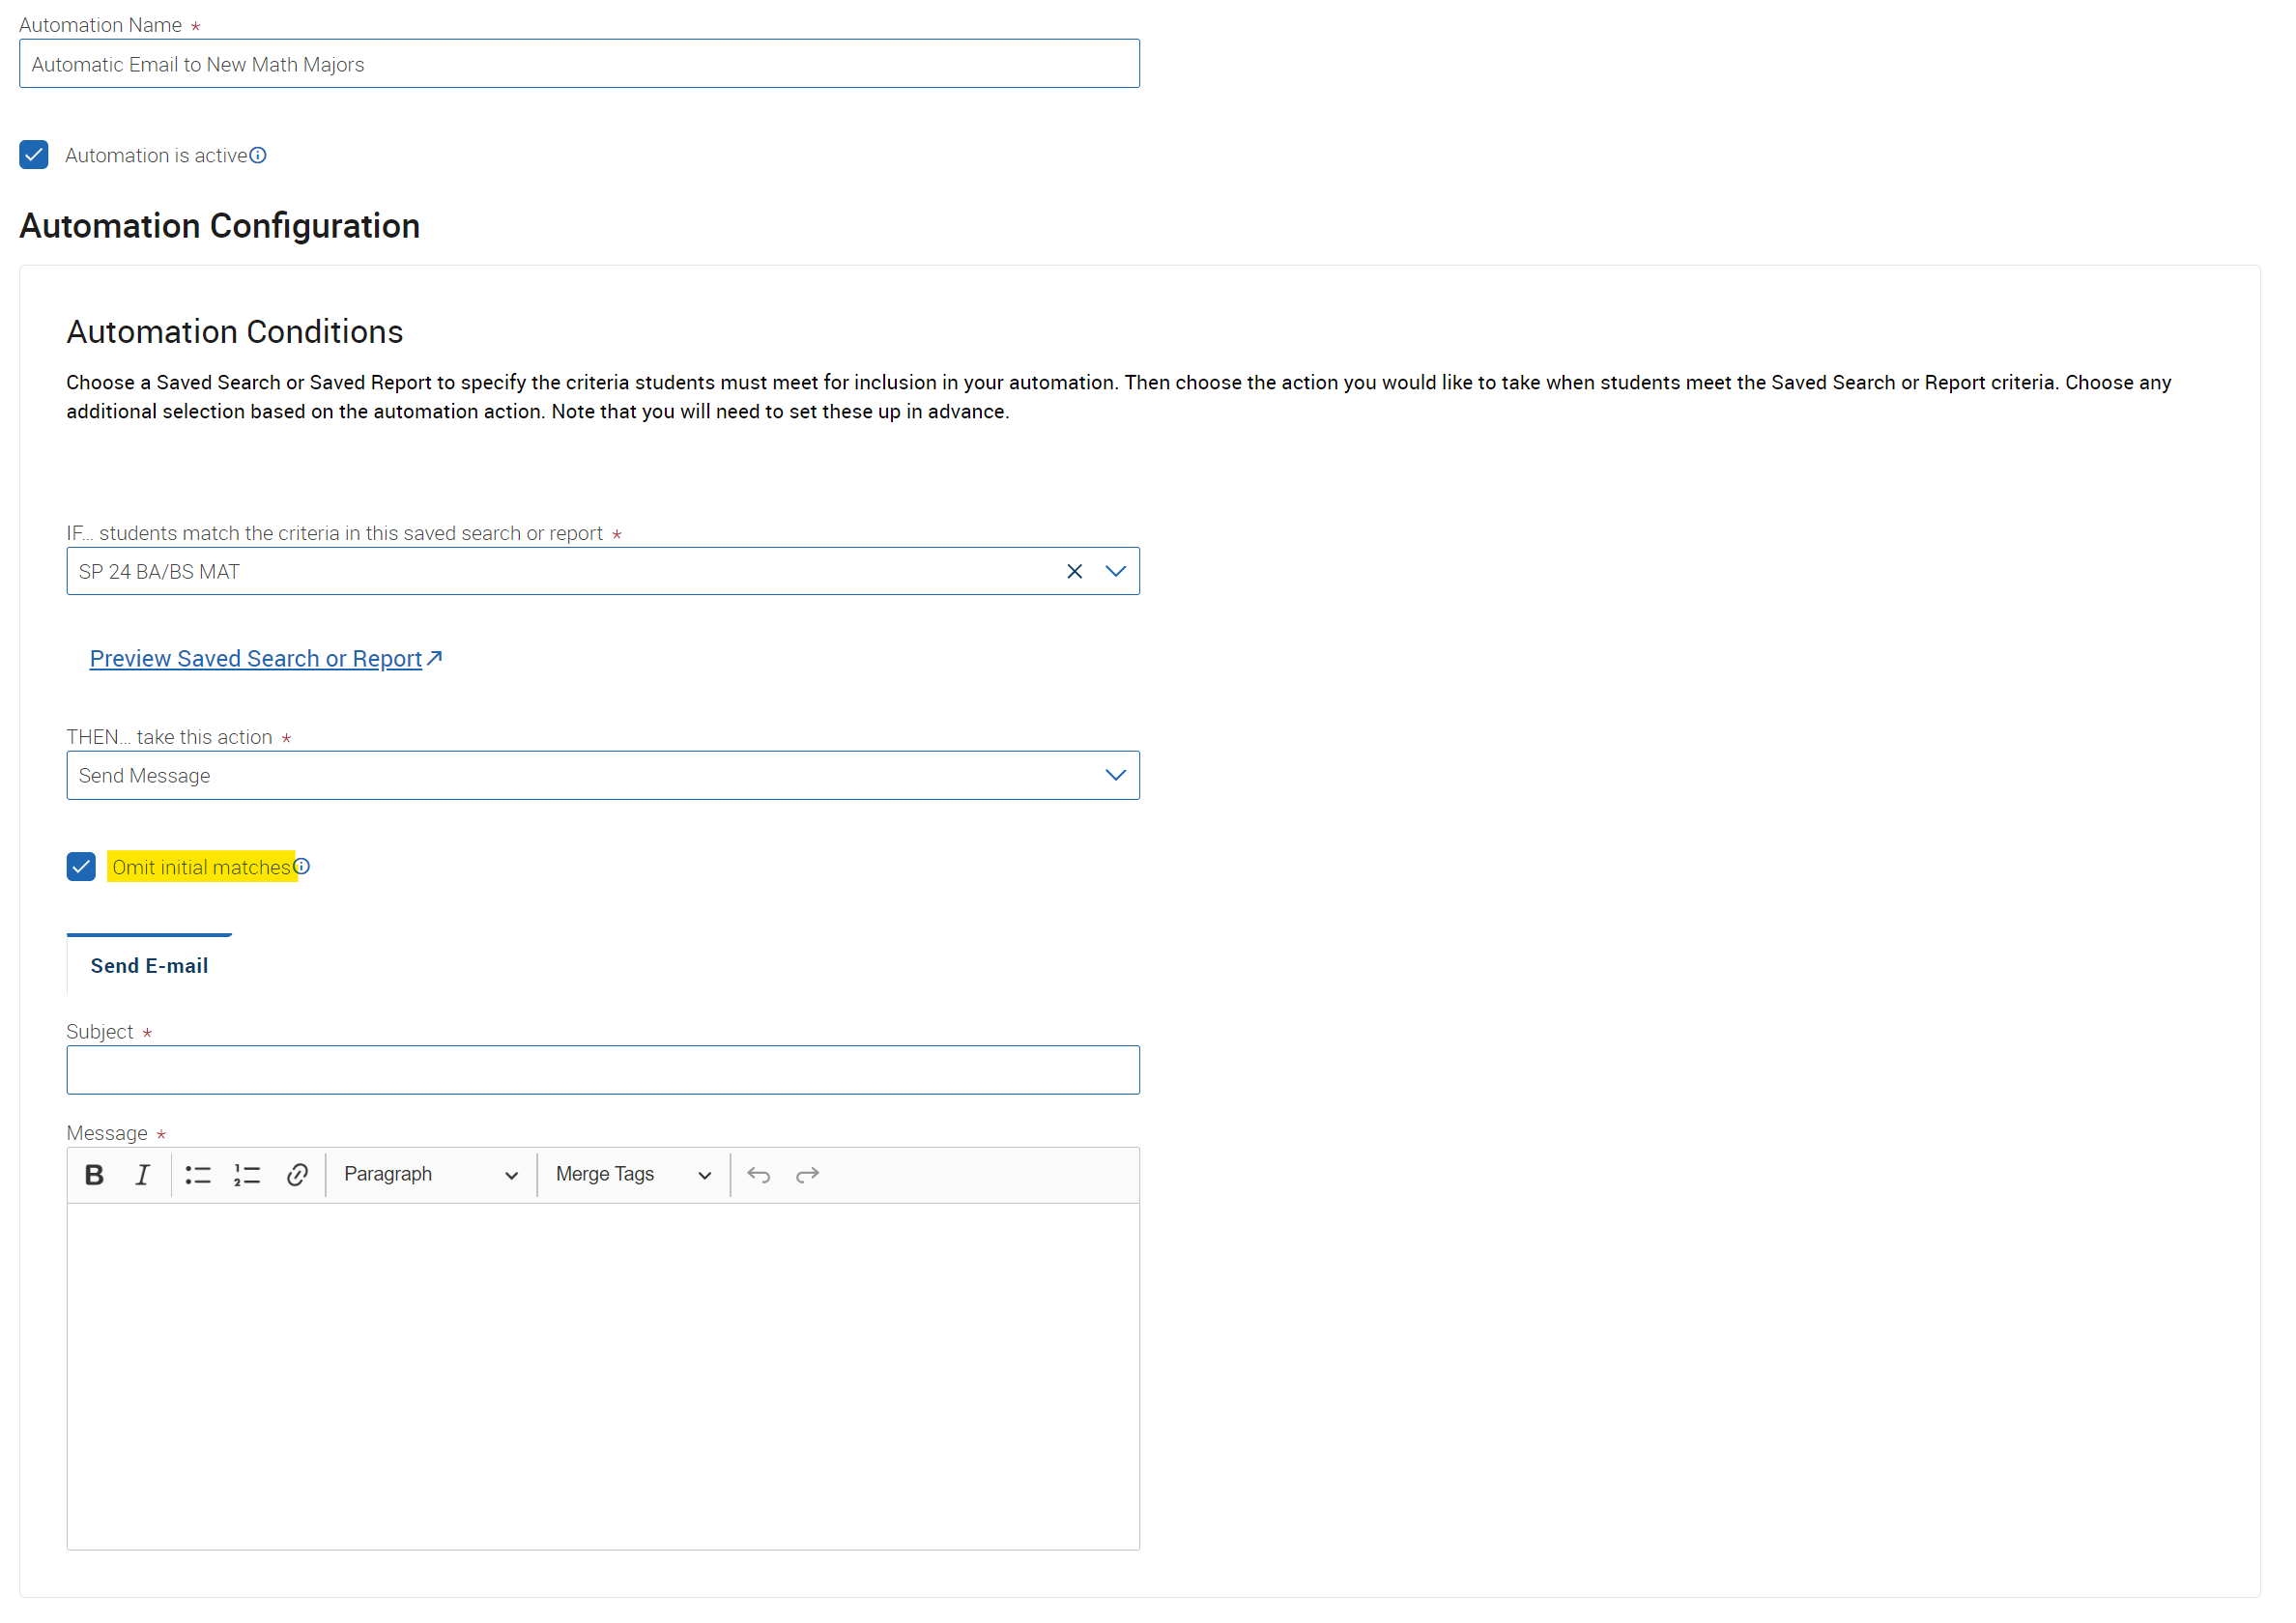
Step 4. Draft the email that you'd like new majors to receive. You can put whatever you'd like in the subject and body of the email. Navigate also allows you to personalize the email, including the student's first/last name. You may also want to include your personal availability link so they can schedule an appointment with you. These options are all found under "Merge Tags".
Step 5. Set the automation schedule. You will need to pick a date range, we recommend the entire semester. For frequency, you have the option for the automation to run (and search for new majors) every day, week, or month. You then must also select the time at which you want the automation to run.
Step 6. Save the automation and you're good to go! You will be notified by email prior to the automation sending the email 2 hours before the schedule you've set. Then, you can manage the automation and/or see students for which the automation will be running.